DIY Hot Air Balloon Light Ideas
If you love creative DIY home décor projects, this DIY Hot Air Balloon Light is a beautiful craft that combines creativity, recycling, and functionality. Made with inexpensive materials like balloons, paper Mache, cardboard, tissue paper, and LED lights, this handmade decoration creates a warm and magical atmosphere in any room.
In this guide, you’ll learn the materials needed, the benefits of making this project, and a detailed step-by-step tutorial to help you create your own glowing hot air balloon.
Materials Needed
Prepare all your supplies before starting the project.
Main Materials
- 1 Medium balloon
- White craft glue (PVA glue)
- Toilet paper or soft tissue paper
- Cardboard sheet
- Paper tape or masking tape
- Colored tissue paper
- Decorative paper
- Wooden skewers or thin sticks
- Jute rope or decorative string
- Hot glue gun
- Glue sticks
- Pencil
- Ruler
- Scissors
- Craft knife
- Paint (optional)
- Paintbrush
- Artificial flowers (optional)
- Small LED fairy lights or battery-operated LED light
- Decorative beads or ribbons (optional)
Benefits of Making a DIY Hot Air Balloon Light
1. Budget-Friendly Decoration
This project costs very little because most materials are recyclable or commonly found at home.
2. Eco-Friendly Craft
Instead of throwing away cardboard and leftover tissue paper, you can transform them into an attractive decorative item.
3. Beginner Friendly
The steps are simple and easy to follow. No professional crafting experience is required.
4. Perfect Home Decoration
The finished balloon adds a cozy and elegant touch to bedrooms, children’s rooms, cafés, studios, and living spaces.
5. Great Gift Idea
A handmade illuminated hot air balloon makes a thoughtful birthday, baby shower, anniversary, or holiday gift.
6. Improves Creativity
Paper Mache projects encourage creativity while improving patience and crafting skills.
7. Family Activity
Parents and children can enjoy creating this project together, making it a fun weekend activity.
8. Customizable Design
You can personalize your balloon using different colors, patterns, ribbons, flowers, and lighting styles.
How to Make an Amazing DIY Hot Air Balloon Light
Step 1: Inflate the Balloon
Choose the desired size of your hot air balloon.
Inflate the balloon evenly without making it too large. Tie the end securely so the air remains inside throughout the crafting process.
The balloon serves as the mold that gives your hot air balloon its perfect round shape.
Step 2: Prepare the Glue
Pour white craft glue into a bowl.
If the glue is very thick, mix it with a small amount of water until it becomes easy to spread.
This helps create smooth paper layers.
Step 3: Apply the First Glue Layer
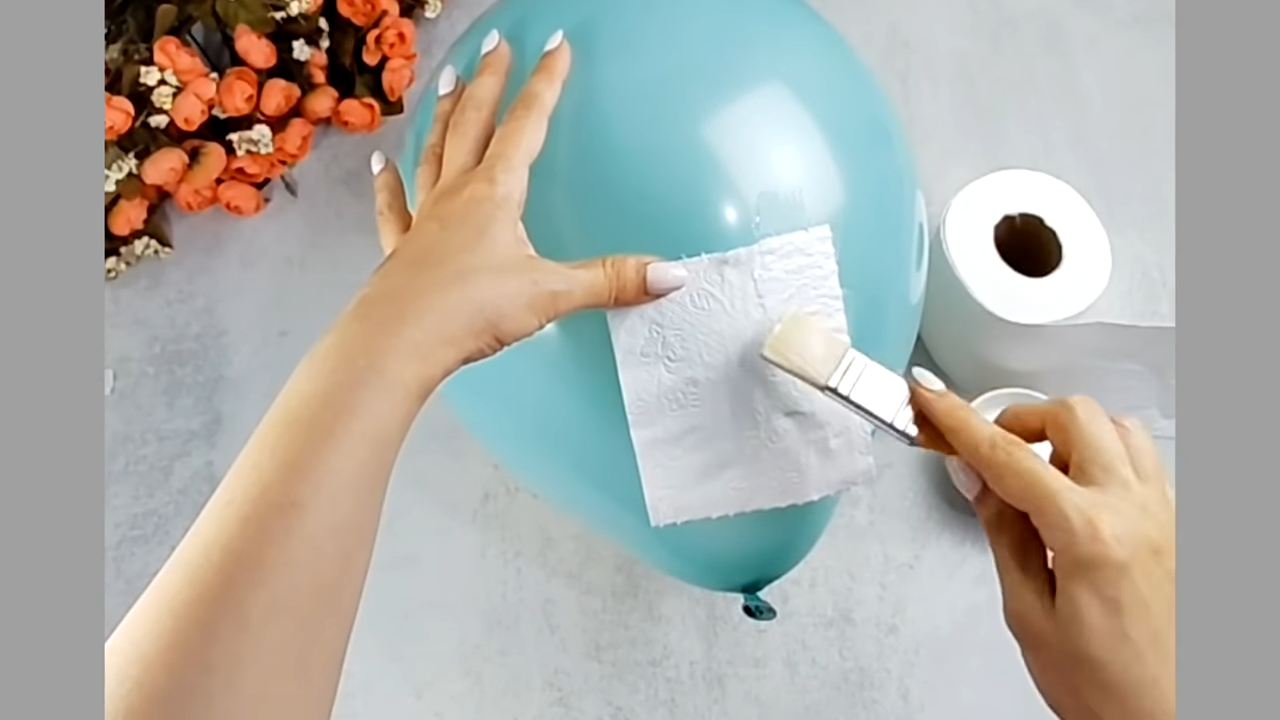
Using a paintbrush, coat the balloon with glue.
Cover only one section at a time to prevent the glue from drying before placing the paper.
Step 4: Add Toilet Paper
Place small pieces of toilet paper onto the glued balloon.
Press gently to remove wrinkles and air bubbles.
Avoid using large sheets because smaller pieces create a smoother finish.
Step 5: Repeat the Layers
Brush another layer of glue over the paper.
Continue adding paper and glue.
Repeat this process approximately four times.
These multiple layers strengthen the balloon shell and make it durable after drying.
Step 6: Dry Completely
Leave the paper-covered balloon in a dry, well-ventilated place.
Allow it to dry naturally.
Depending on humidity, drying may take 12–24 hours.
Never rush this step because wet paper may collapse.
Step 7: Remove the Balloon
Once the paper shell becomes hard, carefully pop the balloon.
Pull the balloon pieces out through the opening.
You now have a lightweight paper-Mache balloon.
Building the Basket
Step 8: Cut the Base
Measure and cut a 12 × 12 cm square from cardboard.
This becomes the bottom of the basket.
Step 9: Cut the Side Strip
Cut a cardboard strip approximately 10 cm wide.
The strip should be long enough to wrap around the square base.
Step 10: Score the Cardboard
Use a ruler and craft knife to lightly score folding lines.
This allows the cardboard to bend neatly around the base.
Step 11: Form the Basket
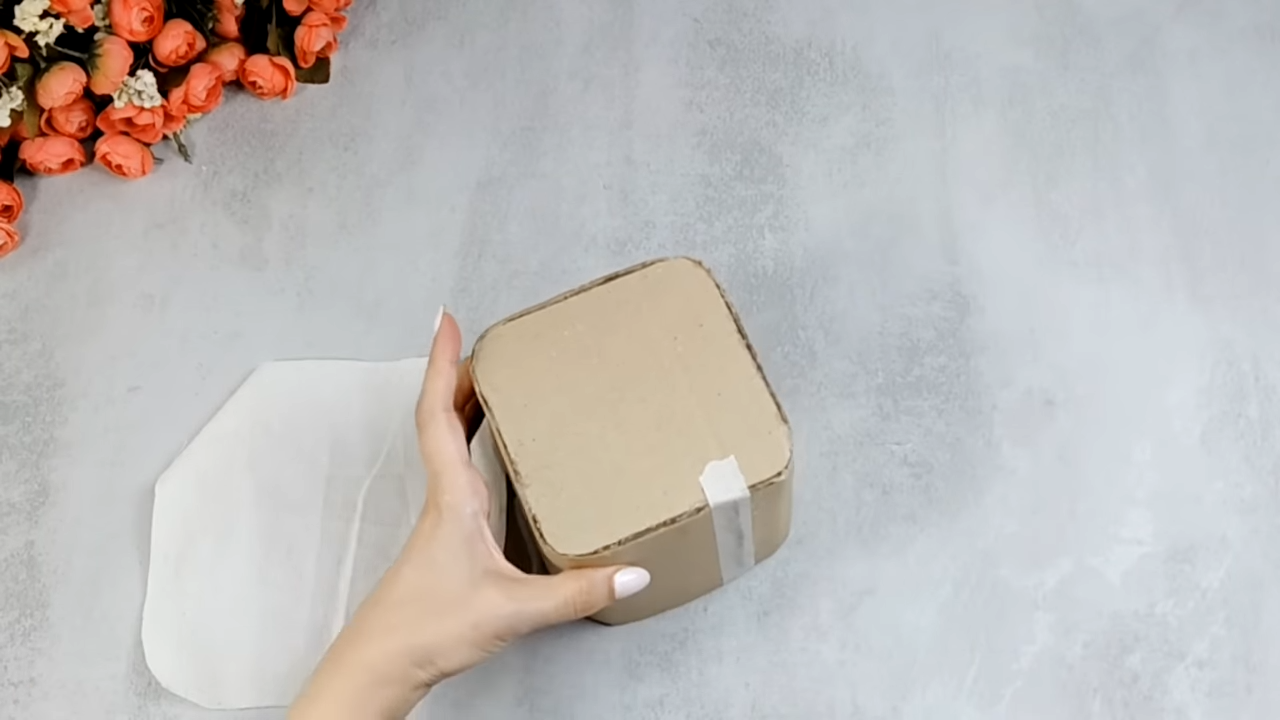
Wrap the strip around the square.
Secure the edges with hot glue.
Check that all corners remain square and even.
Step 12: Reinforce the Structure
Apply paper tape over the joints.
This strengthens the basket while hiding seams.
Decorating the Basket
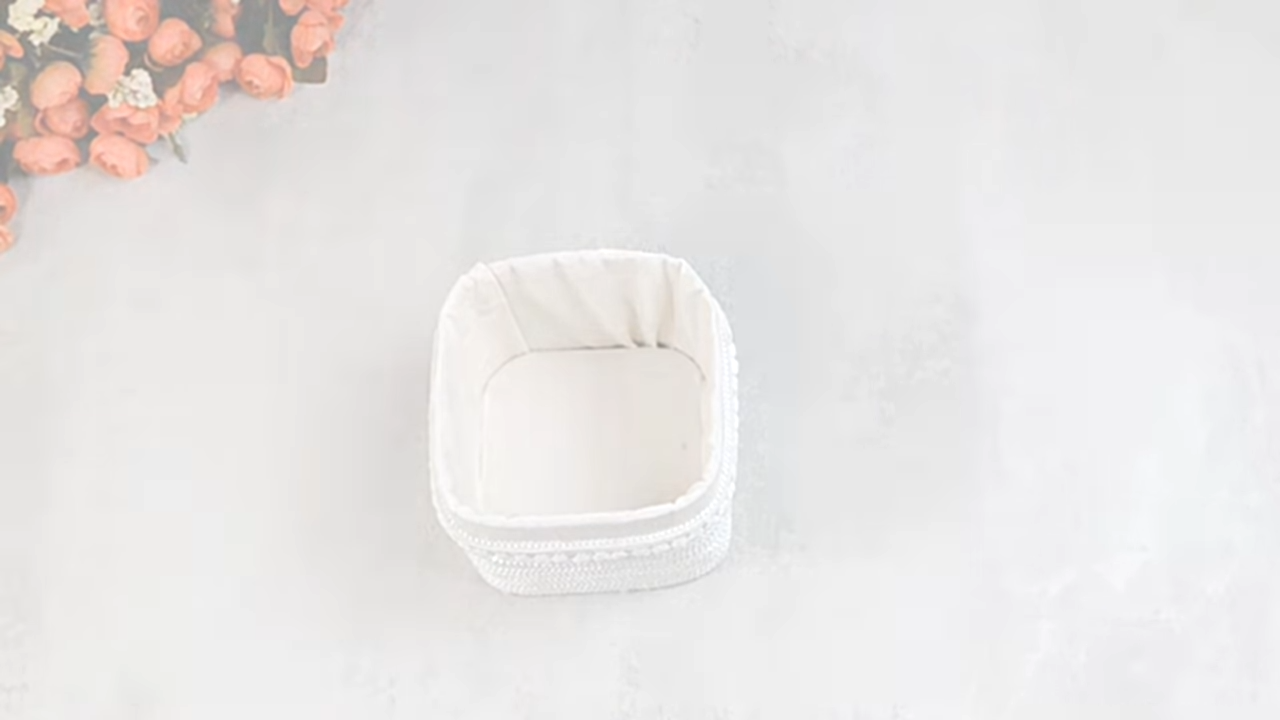
Step 13: Line the Interior
Cut decorative paper to fit the inside.
Glue each piece neatly.
Smooth out wrinkles.
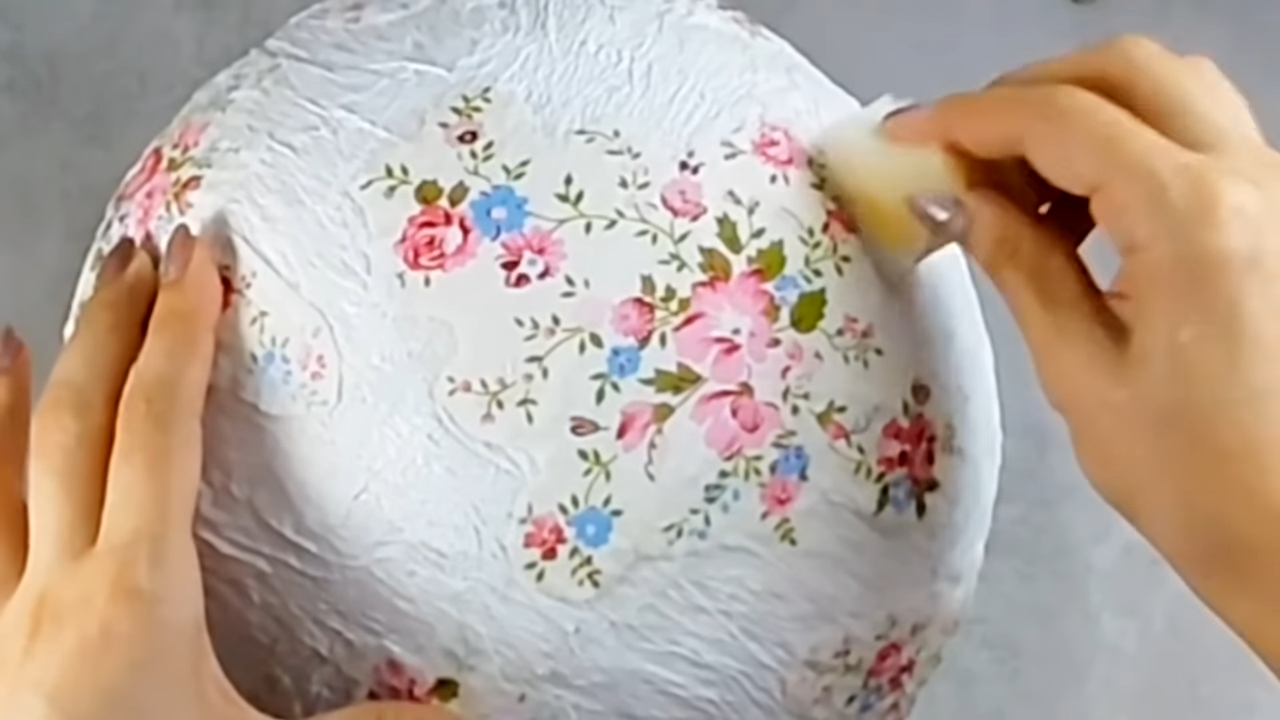
Step 14: Wrap with Tissue Paper
Cover both the inside and outside using colored tissue paper.
Use hot glue carefully.
Stretch the paper gently to avoid creases.
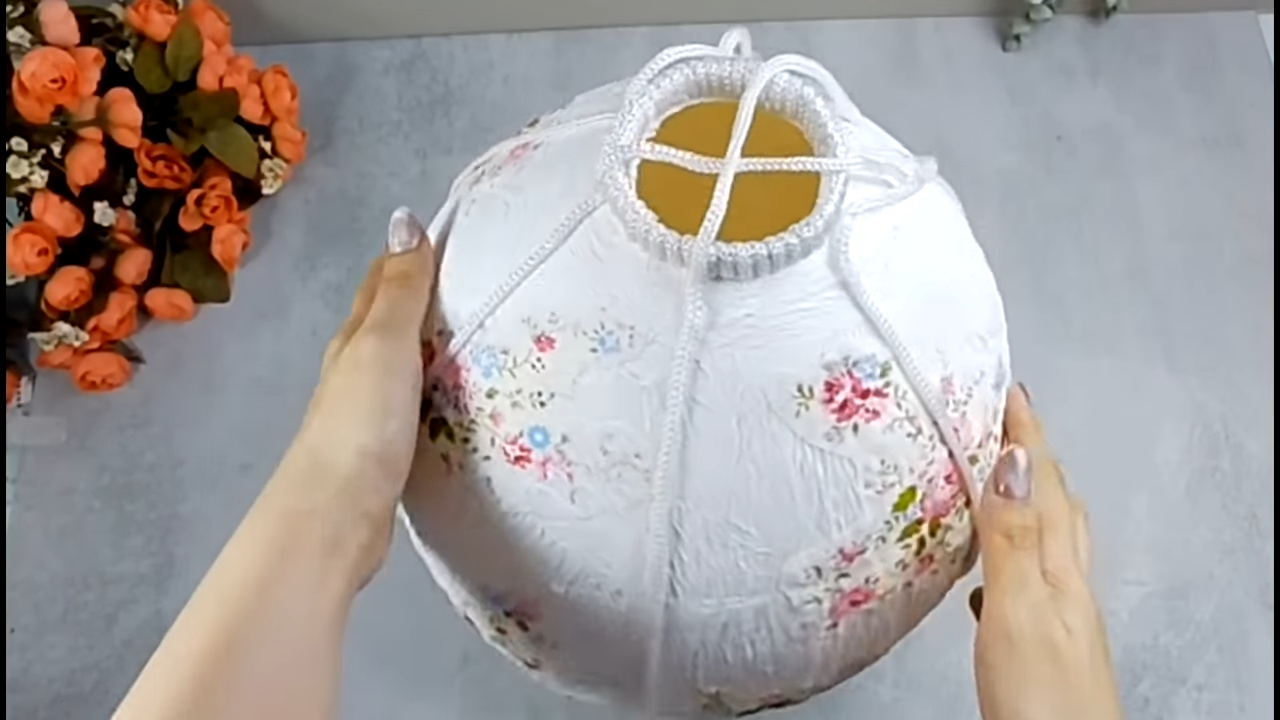
Step 15: Add Decorative Details
Decorate the basket with:
- Jute rope
- Lace
- Ribbon
- Decorative trim
- Artificial flowers
- Small pearls
These additions give the basket a premium handmade appearance.
Connecting the Balloon and Basket
Step 16: Prepare Support Rods
Use four wooden skewers or thin sticks.
Cut them to equal length.
Step 17: Attach the Rods
Glue one end of each stick inside the basket.
Attach the opposite ends evenly around the paper balloon.
Ensure the balloon stays balanced.
Step 18: Strengthen the Connections
Apply extra hot glue around each joint.
Allow the glue to cool completely before moving the craft.
Installing the LED Light
Step 19: Choose Safe Lighting
Always use battery-operated LED lights.
Avoid candles or traditional bulbs because they generate heat.
Step 20: Position the Lights
Place the LED lights inside the balloon.
You can hide the battery pack inside the basket.
Secure everything with hot glue if necessary.
Step 21: Test the Lighting
Turn on the LEDs.
The paper shell softly diffuses the light, creating a warm glowing effect similar to a real lantern.
Creative Decoration Ideas
Personalize your hot air balloon using different themes.
Nursery Theme
- Soft pastel colors
- White lace
- Cute animal stickers
Vintage Style
- Brown craft paper
- Twine
- Antique labels
Floral Design
- Artificial roses
- Green leaves
- Pearl decorations
Rainbow Theme
- Bright tissue paper
- Colorful ribbons
- Glitter accents
Minimalist Design
- White paper
- Wooden basket
- Warm white LED lights
Safety Tips
- Work carefully with a hot glue gun.
- Keep scissors and craft knives away from children.
- Only use LED lighting.
- Allow glue to dry completely before decorating.
- Store the finished decoration away from moisture.
Common Mistakes to Avoid
- Applying paper in thick, uneven layers.
- Not allowing enough drying time.
- Using weak glue.
- Adding heavy decorations that unbalance the balloon.
- Using real candles inside the balloon.
- Skipping reinforcement on the basket corners.
Maintenance Tips
- Dust gently with a soft brush.
- Keep away from direct sunlight for long periods.
- Avoid humid environments.
- Replace batteries when the LED light becomes dim.
- Store carefully during seasonal decoration changes.
Frequently Asked Questions
How long does this project take?
Most of the working time is around 2–3 hours, while drying may require up to 24 hours.
Can children make this craft?
Yes, with adult supervision, especially when using hot glue and craft knives.
Which light is safest?
Battery-operated LED fairy lights are the safest option.
Can I paint the balloon?
Yes. Acrylic paint works well after the paper-Mache shell has completely dried.
Can I hang it from the ceiling?
Yes, provided you attach a strong hanging loop and ensure the structure is lightweight and secure.
Final Thoughts
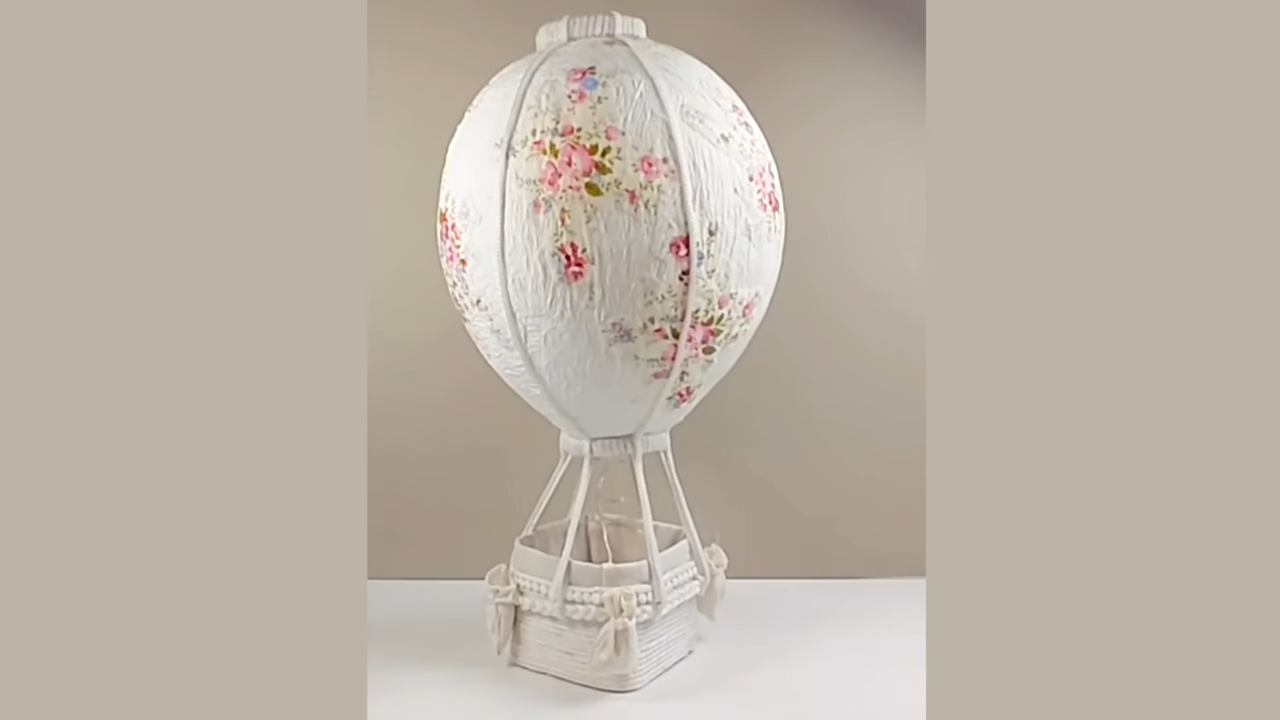
A DIY hot air balloon light is more than just a craft project—it is a unique decorative piece that adds warmth, creativity, and personality to any space. Using simple materials like paper Mache, cardboard, tissue paper, and LED lights, you can create an eye-catching handmade decoration without spending much money.
This project is ideal for beginners, families, students, and anyone who enjoys creative home décor. Its customizable design allows you to match any interior style, making it suitable for bedrooms, nurseries, living rooms, parties, or festive displays.
With patience during the drying process and attention to detail while decorating, your finished hot air balloon light will become a charming centerpiece that showcases your creativity while adding a soft, magical glow to your home.