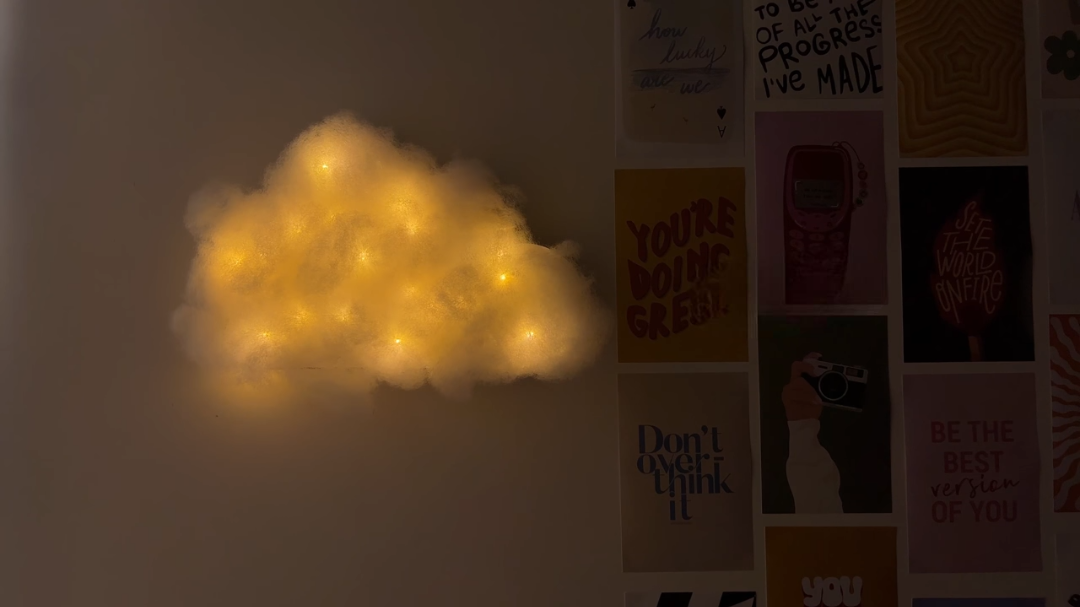
DIY Cloud Lamp made with cardboard and fairy lights
A DIY cloud lamp is one of the easiest and most creative ways to transform an ordinary room into a cozy, Pinterest-inspired space. With just a few affordable materials, you can craft a glowing cloud that adds warmth, personality, and a magical atmosphere to your bedroom, study corner, or gaming setup. This beginner-friendly project doesn’t require advanced crafting skills, making it perfect for students, DIY enthusiasts, or anyone who enjoys handmade home décor.
Unlike expensive decorative lighting available in stores, a handmade cloud lamp lets you customize the size, shape, and lighting style according to your own taste. Whether you prefer a soft warm glow for relaxing evenings or a brighter display for your creative workspace, this project offers endless possibilities.
In this detailed guide, you’ll learn everything you need to know—from gathering the right materials to assembling and decorating your cloud lamp for a professional-looking finish.
Why Make a DIY Cloud Lamp?
Cloud lamps have become increasingly popular because they combine soft lighting with artistic design. They create a calming ambience that makes any room feel more inviting.
- Affordable compared to store-bought decorative lighting
- Easy to personalize
- Beginner-friendly project
- Perfect weekend craft activity
- Great for bedrooms, dorm rooms, studios, and nurseries
- Makes a thoughtful handmade gift
- Adds a unique aesthetic touch to any interior
Because this project uses battery-operated LED fairy lights, it is also safer than using traditional bulbs that generate heat.
Materials You’ll Need
Before starting, gather all your supplies in one place.
Essential Materials
- Thick cardboard
- White paper
- Cloud template
- Pencil
- Scissors
- Liquid glue
- Clear tape
- Hot glue gun
- Battery-operated LED fairy lights
- Polyfilla or synthetic cotton stuffing
Optional Supplies
For extra decoration, you can also use:
- Glitter
- Small stars
- Pastel paint
- LED remote lights
- Decorative ribbons
- Wall mounting strips
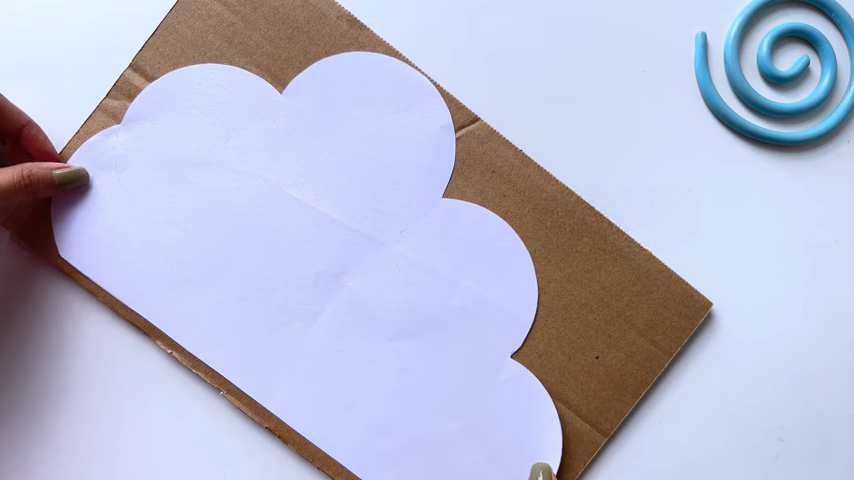
Prepare Your Cloud Template
The first step is creating the cloud shape.
You can either draw your own cloud or print one from the internet. Large, rounded cloud designs usually create the best final appearance because they allow more room for the lighting and cotton.
Place the template onto your cardboard.
Using a pencil, carefully trace around the outline while keeping the paper steady.
Once traced, remove the template.
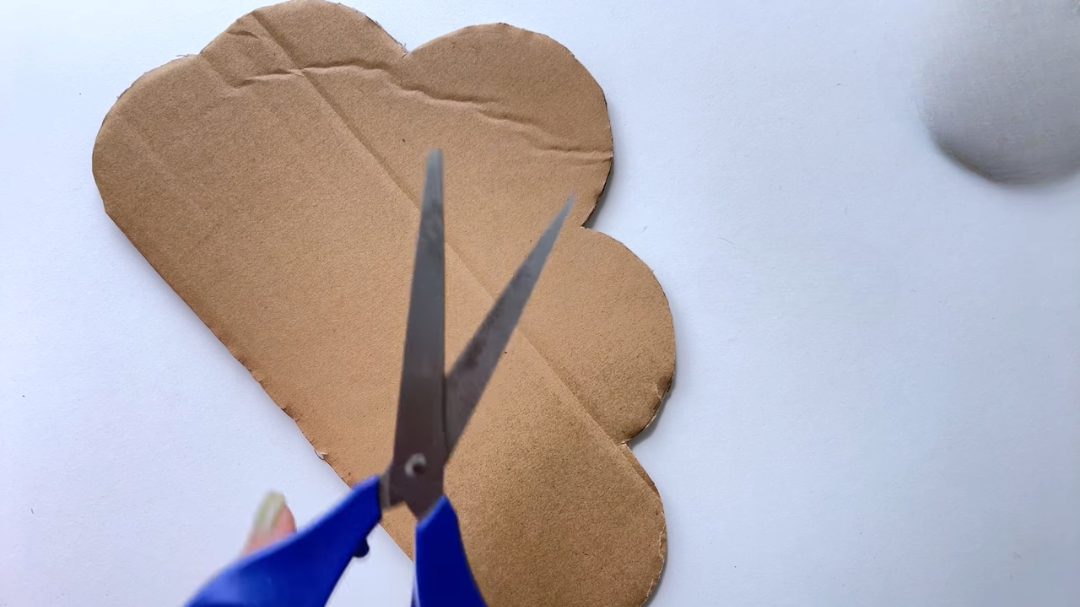
Cut Out the Cardboard Base
Using sharp scissors, carefully cut along the traced outline.
Try to make smooth, rounded cuts rather than sharp corners.
The cardboard serves as the main structure of your lamp, so choose sturdy cardboard that won’t bend easily.
If you’re making a larger cloud, thicker cardboard provides better support.
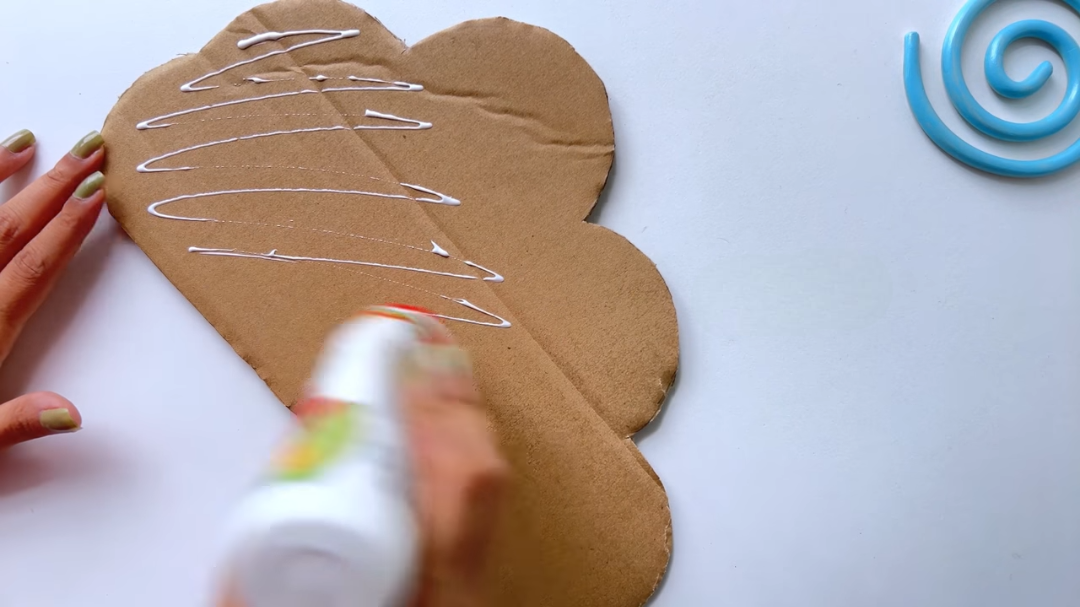
Cover the Cardboard
Although the cardboard won’t be visible once the cotton is attached, covering it with white paper creates a cleaner appearance.
Apply liquid glue evenly across the cardboard surface.
Avoid adding too much glue, as excessive moisture may warp the cardboard.
Place the matching white paper cloud onto the glued surface and gently smooth it from the center outward to remove wrinkles and air bubbles.
Allow it to dry completely before moving to the next step.
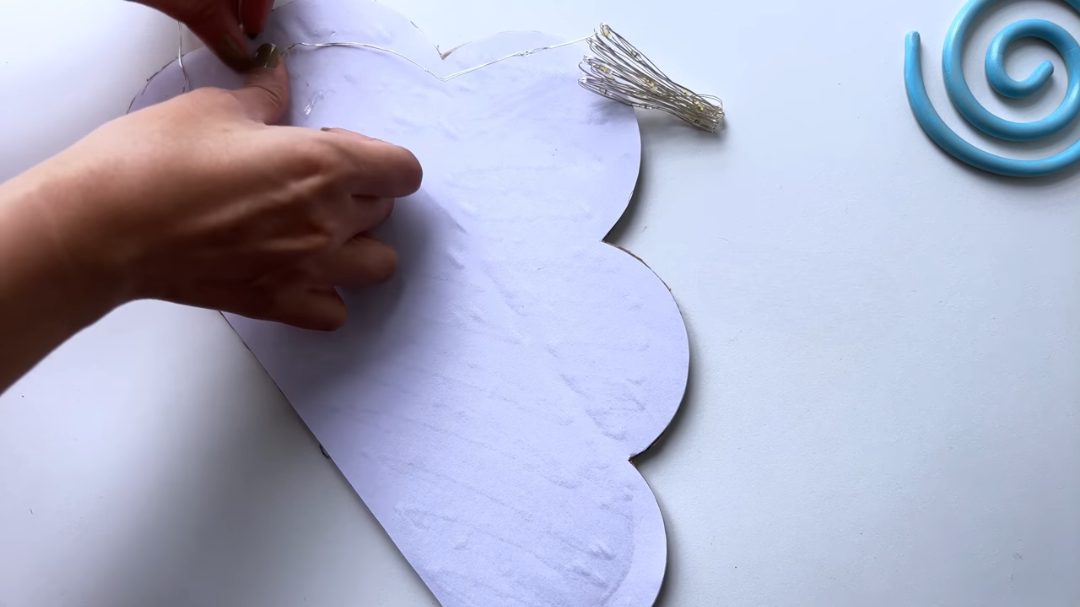
Arrange the Fairy Lights
Once the glue has dried, uncoil your battery-operated fairy lights.
Carefully arrange the wire across the front of the cloud.
Try to spread the lights evenly so every section of the cloud will glow.
Avoid bunching several LEDs together in one area.
Leave enough wire near the battery pack so it can remain hidden behind the cloud or along the wall.
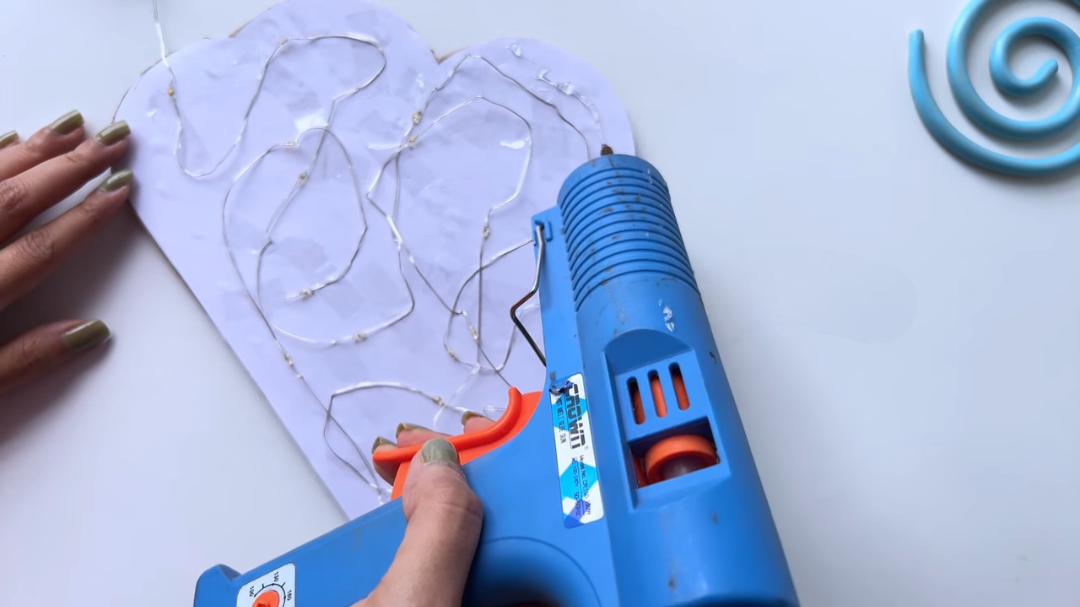
Secure the Lights
Use small strips of transparent tape to hold the wire in place.
Press each strip firmly without covering the LED bulbs.
The tape prevents the wire from shifting while attaching the cotton.
Double-check that all the lights still work before continuing.
Replacing batteries now is much easier than after the project is finished.
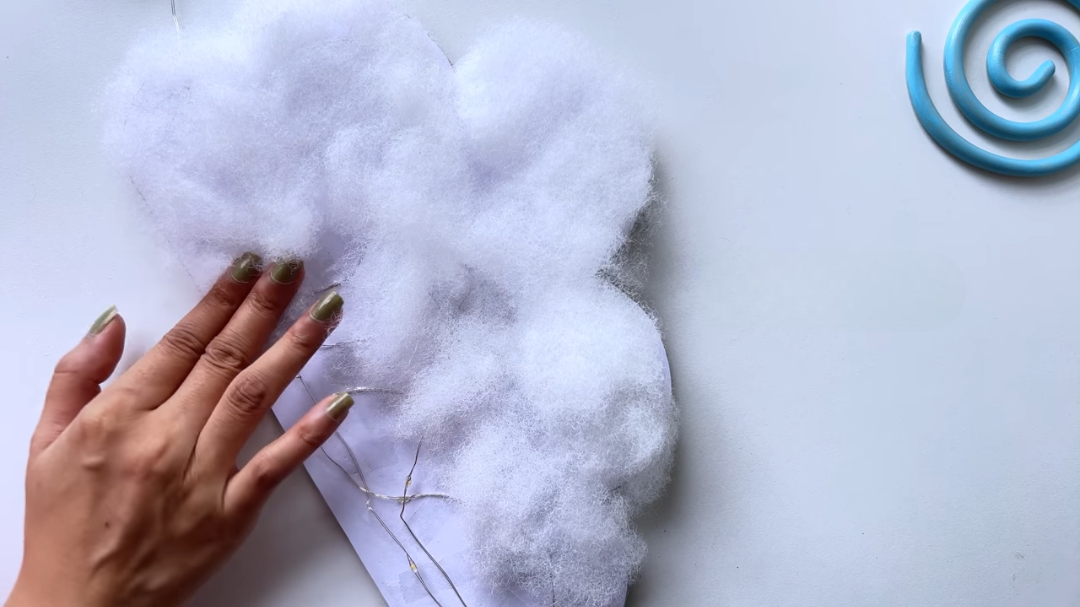
Add the Cotton Filling
This is where the cloud begins to come to life.
Heat your glue gun according to the manufacturer’s instructions.
Apply hot glue in small sections instead of covering the entire surface at once.
Quickly press soft pieces of polypill onto the glue.
Continue working section by section until the whole cloud is covered.
Layer the cotton instead of flattening it.
This creates a fluffy, realistic cloud appearance.
Do not completely hide the LED bulbs.
Allow small gaps so the light can shine through naturally.
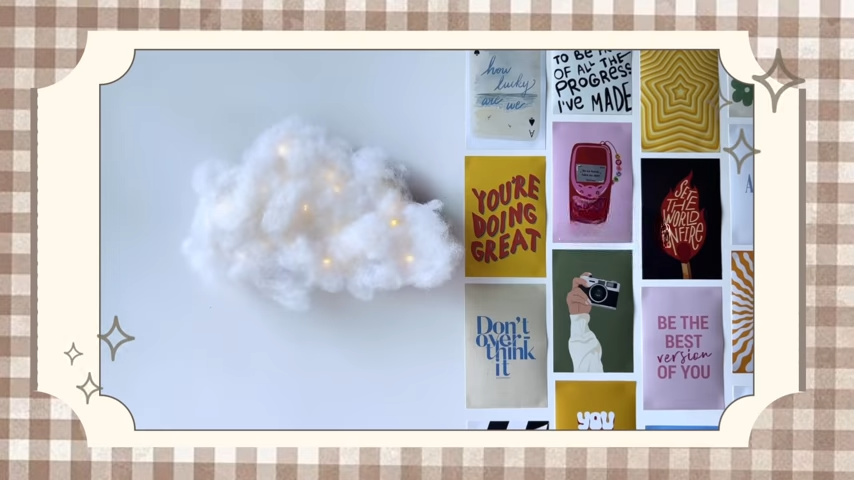
Shape the Cloud
After covering the cardboard, gently pull and fluff the cotton.
This creates a more natural cloud texture.
If certain areas appear flat, simply glue another thin layer of cotton over them.
Spend a few extra minutes shaping the cloud.
Small adjustments make a big difference in the final appearance.
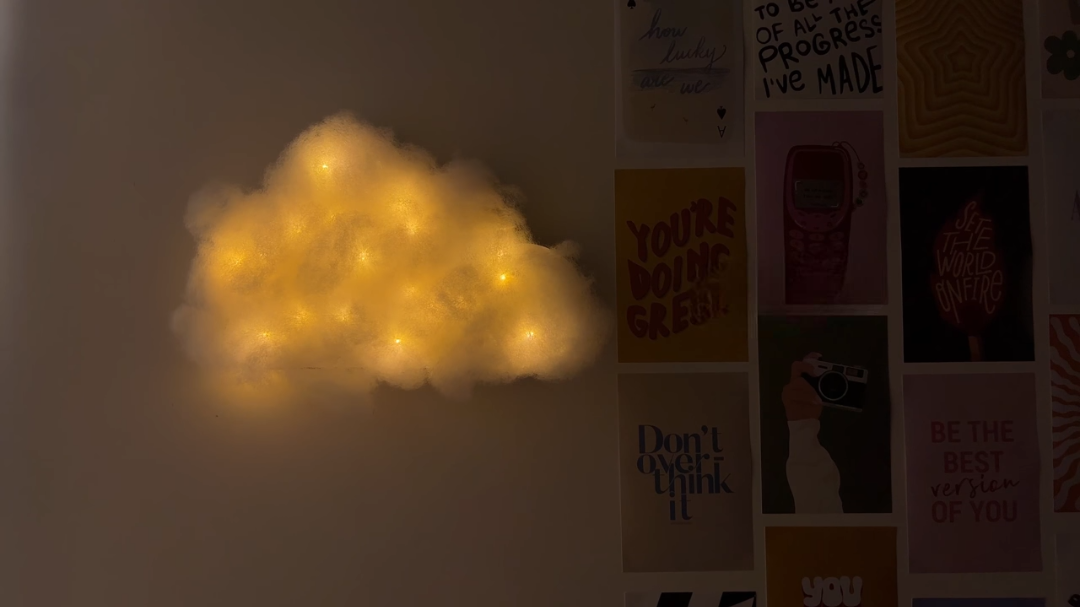
Test the Lighting
Turn on the fairy lights.
Observe how the light spreads through the cotton.
If one area looks too dark, gently separate the cotton.
If one section is too bright, add another thin layer.
Continue making adjustments until the glow appears soft and balanced.
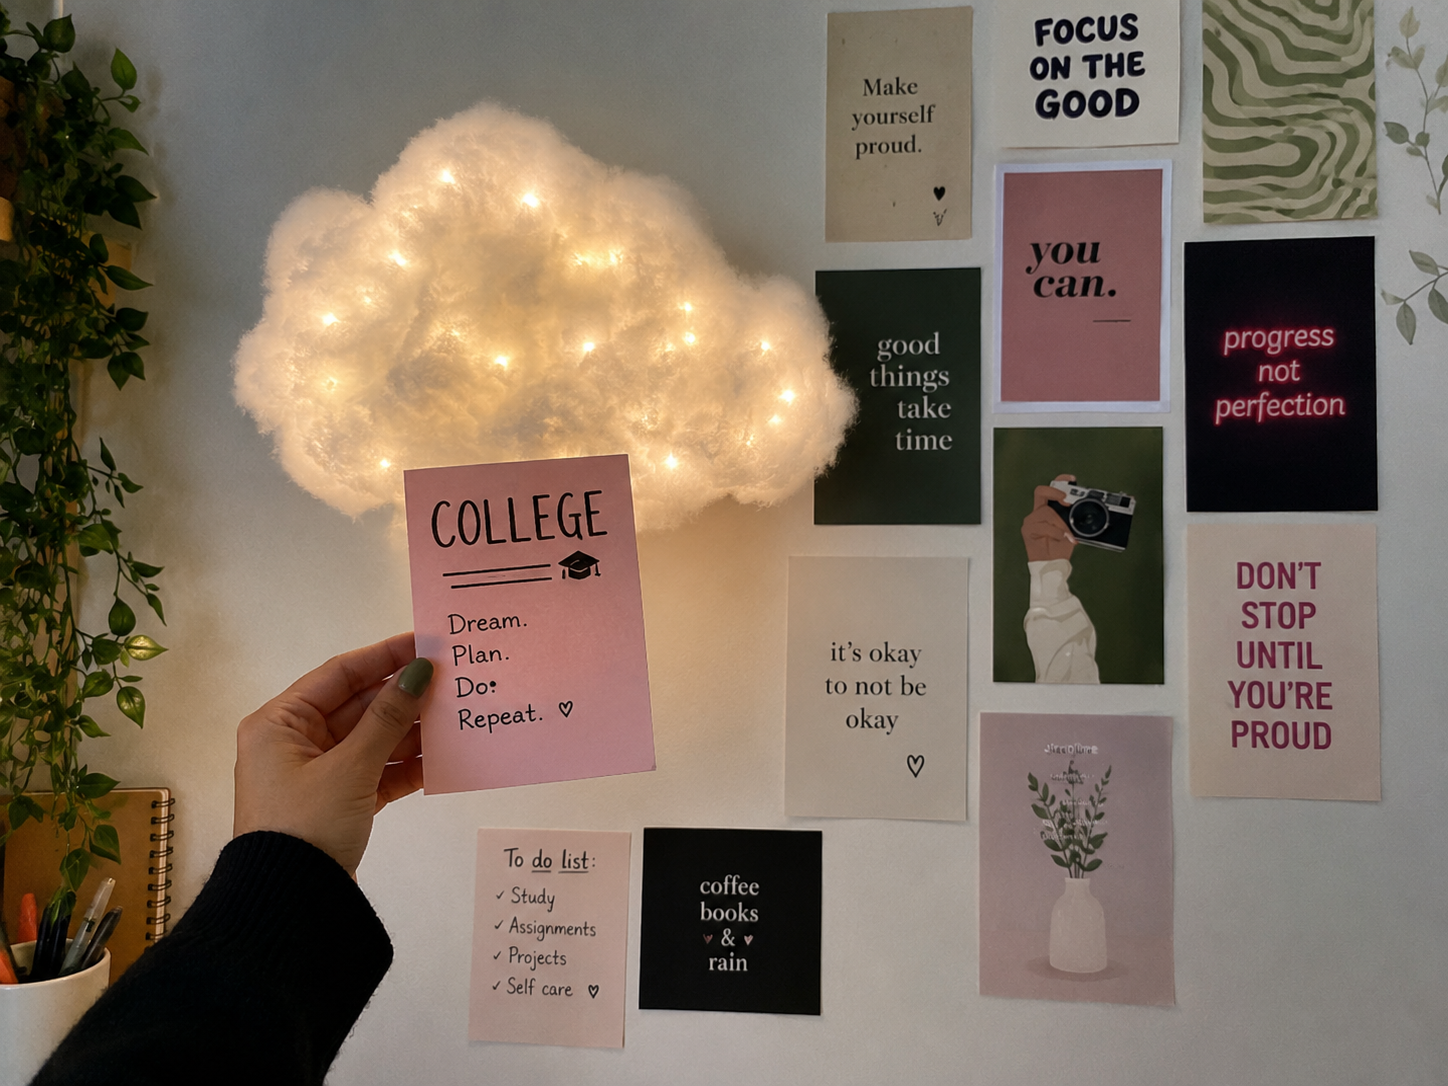
Display Your Cloud Lamp
Once everything has dried, your cloud lamp is ready to display.
Popular locations include:
- Above the bed
- Reading corner
- Gaming setup
- Study desk
- Bedroom wall
- Nursery
- Home office
- Photography background
Use removable wall hooks or adhesive strips to mount the cloud safely without damaging your walls.
Creative Decoration Ideas
Make your cloud lamp even more unique by adding decorative elements.
Some ideas include:
Rain Cloud
Hang clear fishing line underneath with acrylic raindrops.
Rainbow Cloud
Paint a colorful rainbow extending from one side.
Starry Sky
Glue tiny glow-in-the-dark stars around the cloud.
Thunderstorm Theme
Add lightning bolt cut-outs made from gold cardstock.
Color-Changing Version
Replace standard fairy lights with RGB LED lights controlled by a remote.
Safety Tips
Although this project is simple, following basic safety practices is important.
- Always use battery-operated LED lights.
- Never use candles inside the cloud.
- Avoid incandescent bulbs because they generate heat.
- Keep the battery pack dry.
- Supervise children when using a hot glue gun.
- Allow glue to cool before touching.
- Ensure the lamp is securely mounted.
Maintenance
Your cloud lamp will stay beautiful for years with simple care.
Dust can collect on the cotton over time.
Use:
- A soft brush
- Hairdryer on cool setting
- Compressed air
- Gentle vacuum with low suction
Avoid washing the cotton directly with water.
If sections become damaged, simply replace the affected cotton with fresh polypill.
DIY Cloud Lamp Common Mistakes to Avoid
Many beginners encounter a few common issues.
Using Thin Cardboard
Thin cardboard bends easily under the weight of the cotton.
Too Much Glue
Excess glue can soak through the cotton and create hard patches.
Uneven Lighting
Space the LEDs evenly before securing them.
Overcrowding Cotton
If the cotton is packed too tightly, very little light will pass through.
Poor Battery Placement
Leave easy access to the battery pack for future battery changes.
Budget-Friendly Project
One of the biggest advantages of this DIY project is its affordability.
Most materials are inexpensive and widely available at craft shops, supermarkets, or online retailers.
Many people already have cardboard, glue, scissors, and paper at home, making the project even more economical.
The only items you may need to purchase are fairy lights and polypill stuffing.
Why DIY Décor Is Worth Trying
Handmade décor offers more than just decoration.
Crafting encourages creativity, improves problem-solving skills, and provides a relaxing break from everyday routines.
Unlike mass-produced decorations, a handmade cloud lamp reflects your own style and effort, making it a meaningful addition to your home.
Many DIY enthusiasts also enjoy sharing their finished creations on social media or using them as personalized gifts for friends and family.
Final Thoughts on Creating Your DIY Cloud Lamp
Creating a DIY cloud lamp is a fun and rewarding craft project that combines creativity with practical home décor. With a simple cardboard base, soft polypill, and battery-operated fairy lights, you can create a beautiful glowing cloud that instantly transforms the atmosphere of any room.
Whether you’re decorating a bedroom, setting up a cozy reading nook, designing a gaming corner, or adding charm to a dorm room, this cloud lamp offers an affordable way to personalize your space. By following the step-by-step process carefully and taking time to shape the cotton for a realistic finish, you’ll achieve a professional-looking result that rivals expensive store-bought decorations.
The best part is that every cloud lamp can be completely customized to match your own style, making each creation truly one of a kind. Gather your materials, switch on your creativity, and enjoy building a dreamy cloud lamp that brings warmth, comfort, and a touch of magic into your home.