Cardboard DIY Storage Basket with Lid
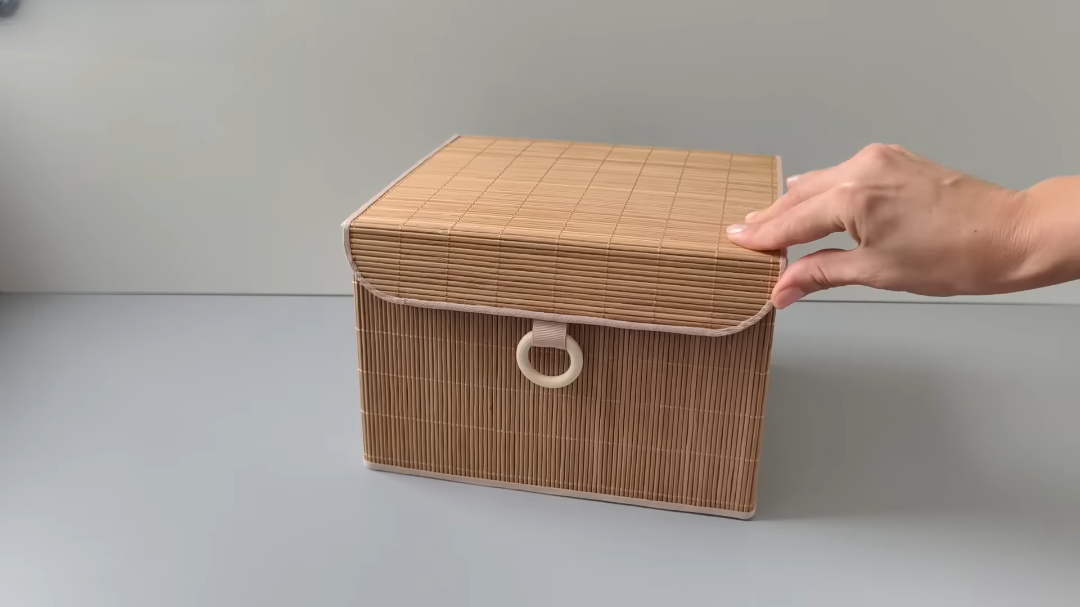
If you’re looking for an affordable way to organize your home while reducing waste, this DIY storage basket with lid is the perfect project. Using an old cardboard shipping box, cotton fabric, and a few basic craft supplies, you can create a stylish storage organizer that looks far more expensive than it actually is.
This easy upcycling project is ideal for storing clothes, toys, craft supplies, office accessories, blankets, bathroom essentials, or seasonal decorations. The finished basket is durable, modern, and blends beautifully with almost any home décor style.
Why Make a Cardboard Storage Basket?
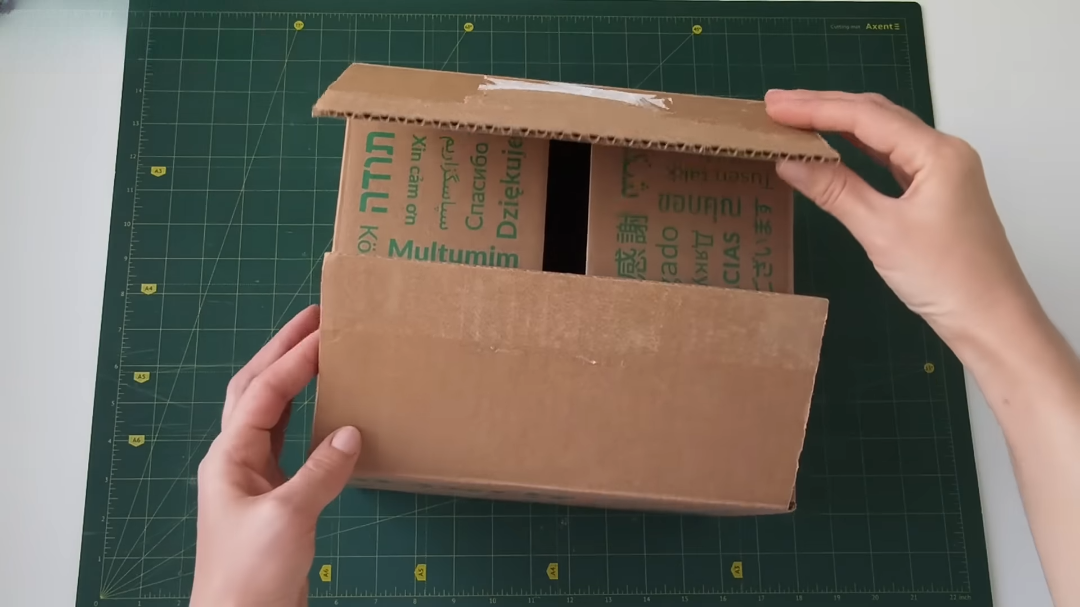
Instead of throwing away sturdy cardboard boxes, transform them into decorative storage containers that are both functional and attractive.
Benefits
- Eco-friendly and sustainable
- Budget-friendly DIY project
- Easy to customize with different fabrics
- Perfect for home organization
- Strong enough for everyday storage
- Great for beginners
Materials You’ll Need
- Sturdy cardboard shipping box
- Utility knife
- Metal ruler
- Heavy-duty clear tape
- Polymer or craft glue
- Heavy-duty cotton or canvas fabric
- Fabric scissors
- Craft squeegee or plastic scraper
- Measuring tape
- Pencil
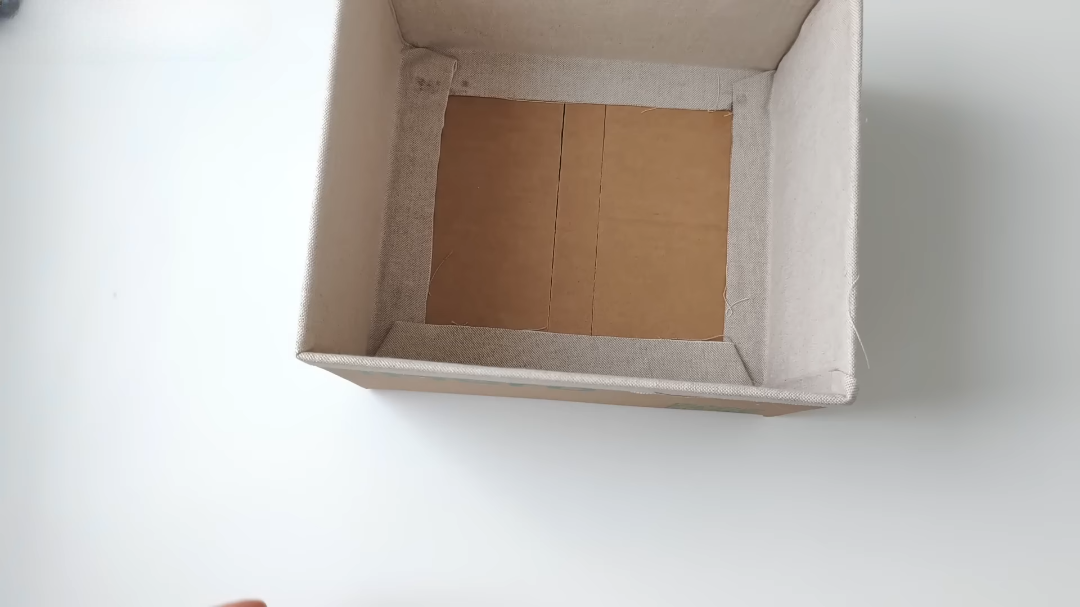
Step 1: Prepare the Cardboard Box
Choose a sturdy cardboard shipping box that is approximately 24.5 cm × 22 cm × 16.3 cm.
Remove the top flaps using a utility knife and ruler to create smooth, even edges. Trim carefully so all sides remain level.
After cutting, reinforce the bottom seams and all outer joints with heavy-duty clear tape. This additional support helps the organizer maintain its shape and increases durability.
Tip: The stronger the box, the longer your storage basket will last.
Step 2: Strengthen the Bottom
To prevent the base from bending under weight, glue cardboard reinforcement pieces inside the bottom.
Apply polymer glue evenly across the surface before pressing the reinforcement panels into place.
Allow the glue to dry completely before moving on to the next step.
This creates a much sturdier storage basket capable of holding heavier household items.
Step 3: Line the Interior with Cotton Fabric
Cut heavy-duty cotton fabric to fit the inside of the basket.
Prepare fabric pieces measuring approximately:
- 48.5 cm × 21 cm
- 50 cm × 21 cm
Apply polymer glue to the cardboard walls.
Starting from the upper edge, carefully press the fabric into place.
Fold the fabric neatly over the rim to create clean finished edges.
Use a craft squeegee or plastic scraper to smooth the fabric and remove wrinkles or trapped air bubbles.
Repeat this process for all four interior walls.
Step 4: Cover the Exterior
Once the interior has dried, wrap the outside of the cardboard box with matching canvas or cotton fabric.
Leave approximately 1.5 cm of extra fabric around each edge for folding.
Apply glue evenly across the exterior surfaces before carefully wrapping the fabric around the box.
Fold the edges neatly into the inside corners to achieve a professional-looking finish.
Take your time during this step because smooth fabric creates the appearance of a high-quality storage basket.
Step 5: Create Clean Corners
The corners make the biggest difference in the final appearance.
Carefully fold the fabric like wrapping a gift box.
Press each corner firmly while the glue is still wet.
Smooth any wrinkles immediately before the adhesive dries.
This small detail gives your organizer a polished and elegant finish.
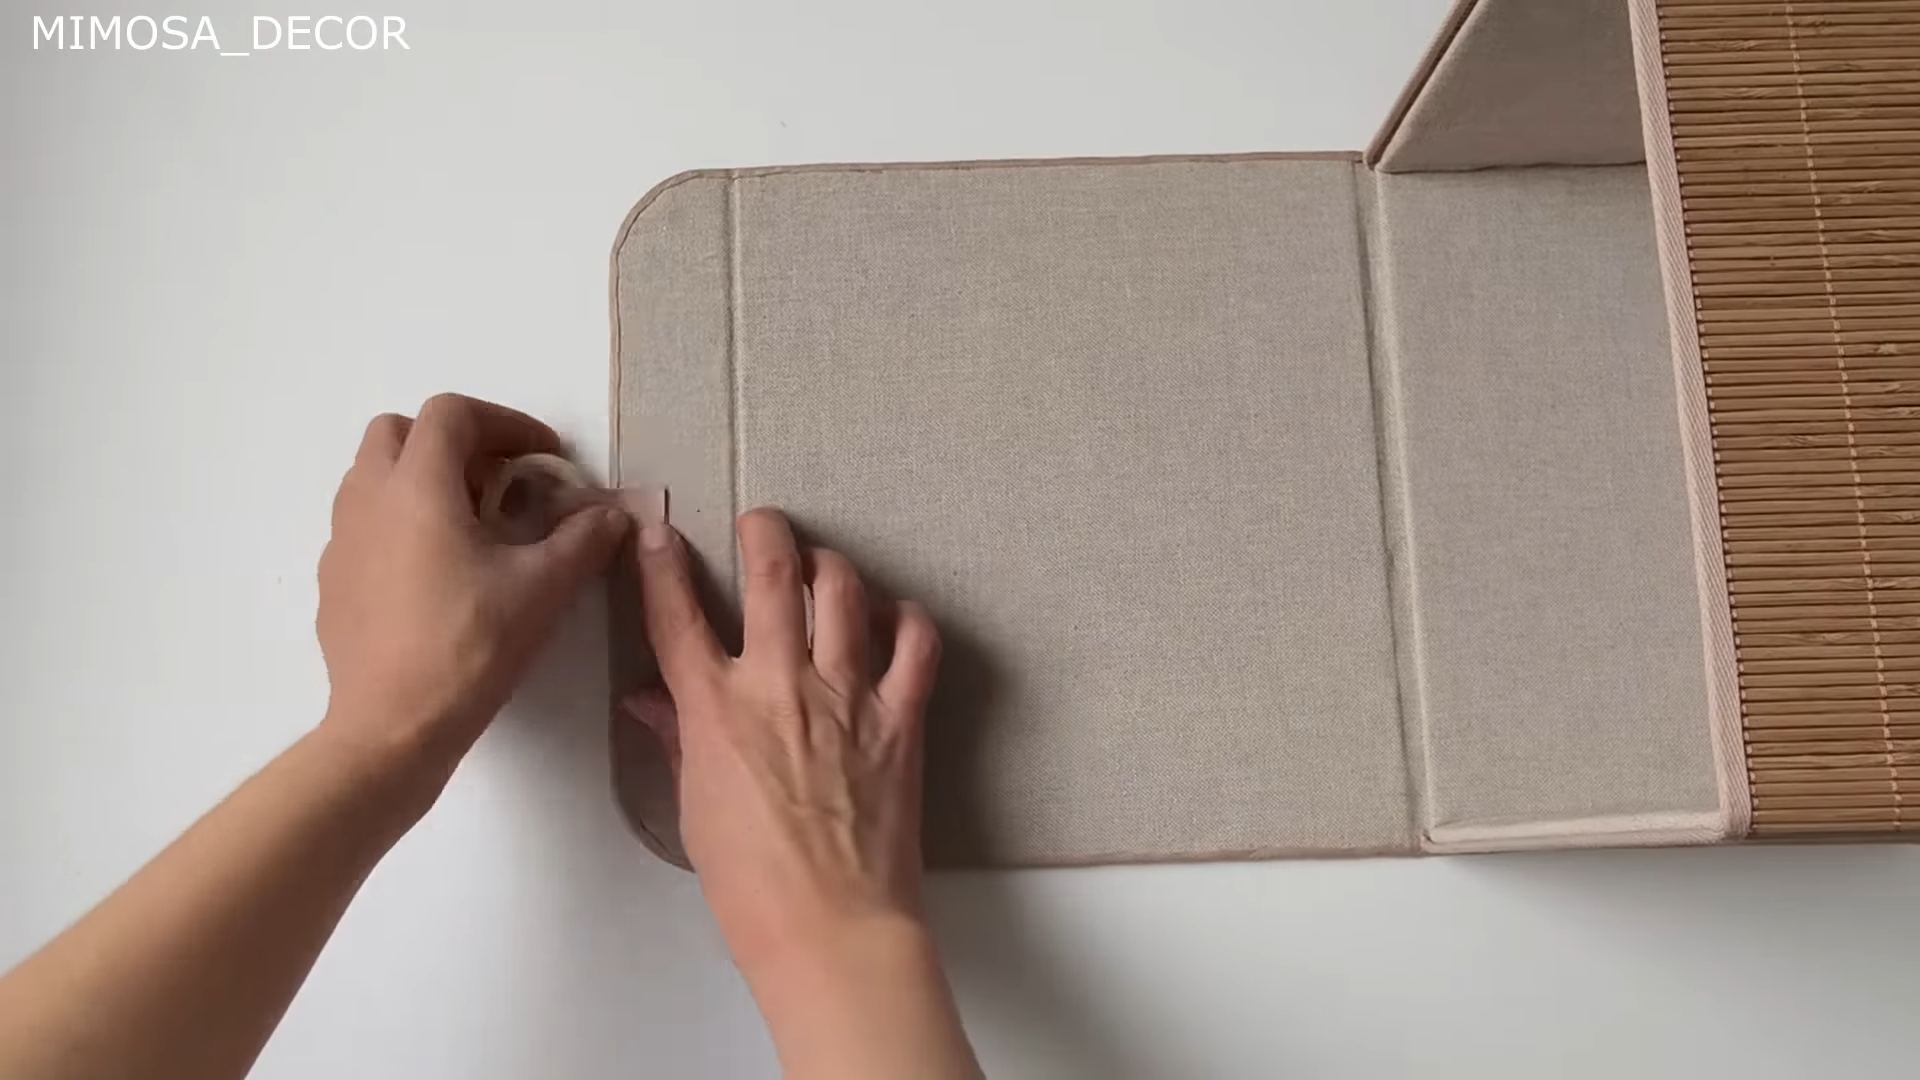
Step 6: Add a Matching Lid
A matching lid keeps stored items dust-free while making the organizer look even more decorative.
Create a lid from another piece of sturdy cardboard.
Cover it with the same fabric used on the basket.
Fold the edges neatly and glue everything securely.
A matching lid instantly transforms a simple cardboard box into a premium-looking storage container.
Best Uses for Your DIY Storage Basket
This organizer works well in nearly every room of the house.
Living Room
- Remote controls
- Blankets
- Magazines
- Cables
Bedroom
- Clothing
- Socks
- Accessories
- Seasonal items
Bathroom
- Towels
- Toiletries
- Hair accessories
Nursery
- Baby supplies
- Diapers
- Toys
Craft Room
- Fabric
- Yarn
- Paint supplies
- Sewing materials
Office
- Documents
- Stationery
- Chargers
- Office accessories
DIY Tips for Better Results
- Choose thick cotton canvas for extra durability.
- Apply glue evenly to avoid wrinkles.
- Work slowly around the corners.
- Let each glued section dry before handling.
- Reinforce the base if storing heavy items.
- Match the fabric color to your home décor for a designer look.
Why This DIY Organizer Is Worth Making
Store-bought decorative baskets can be expensive, especially larger ones with lids.
This DIY version costs only a fraction of the price while allowing complete customization. You can choose any fabric pattern, color, or texture to match your home.
It also helps reduce waste by giving old cardboard boxes a second life, making it a practical and environmentally friendly craft project.
Final Thoughts
Creating a DIY storage basket with lid from a cardboard box is a simple yet rewarding project that combines creativity, organization, and sustainability. With just a few basic materials, you can transform an ordinary shipping box into a beautiful fabric-covered organizer that looks elegant in any room.
Whether you’re organizing your bedroom, office, nursery, or living room, this handmade storage basket offers a stylish solution without spending a fortune. Try different fabric designs and sizes to create a complete matching storage collection for your home.