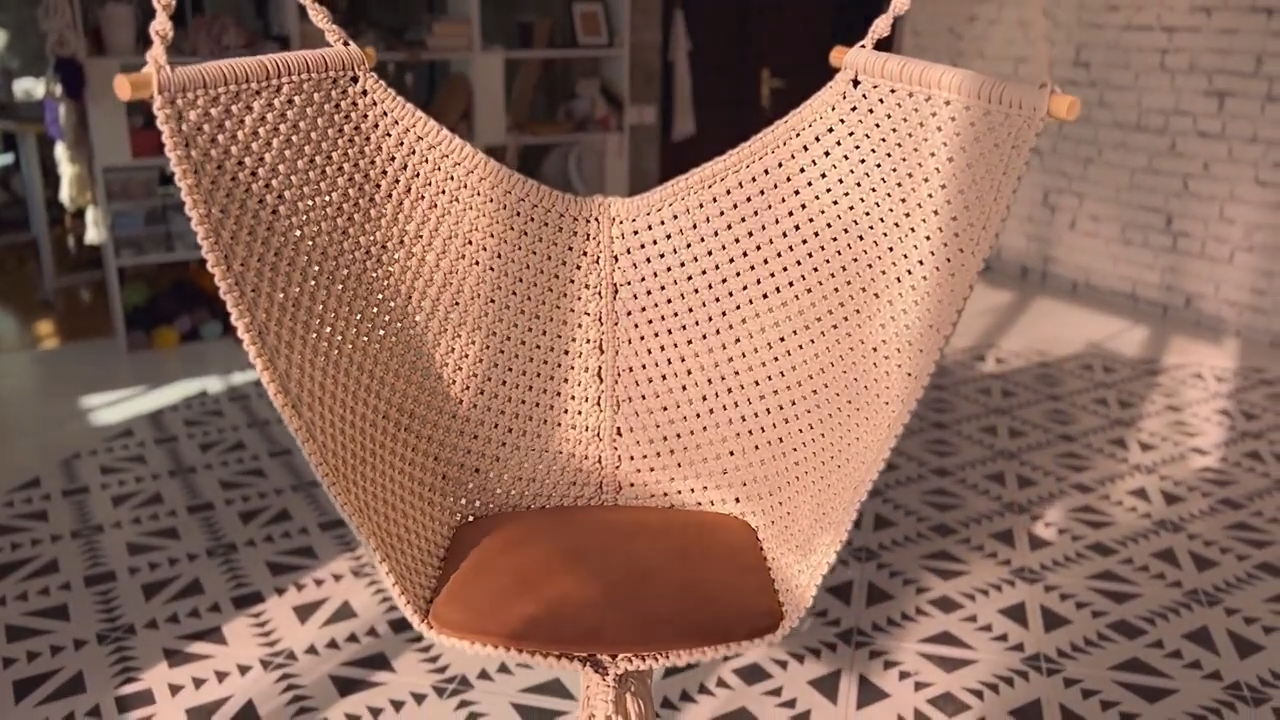
Macramé DIY Hanging Chair Step-by-Step
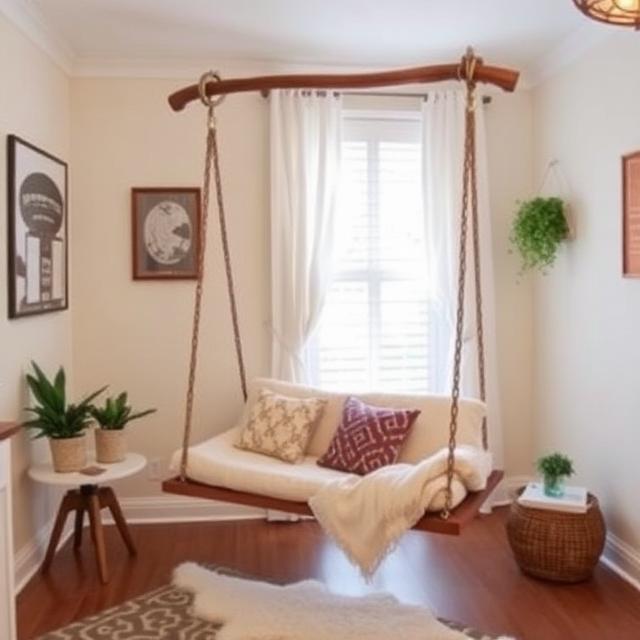
A DIY macramé hanging chair is more than just a piece of furniture—it is a stylish statement that brings comfort, elegance, and handmade charm into any space. Whether you want to decorate your living room, balcony, patio, garden, or reading corner, a handcrafted macramé swing chair adds warmth and personality.
This project uses traditional macramé knotting techniques with durable cotton rope, a sturdy metal ring, and wooden support rods to create a strong, comfortable hanging chair. While it requires patience, the finished chair becomes a long-lasting decorative and functional piece that you can proudly display.
In this detailed guide, you’ll learn about the materials required, the benefits of making your own macramé hanging chair, and the complete step-by-step construction process.
Why Make a DIY Macramé Hanging Chair?
A handmade hanging chair offers several advantages over store-bought options.
1. Unique Handmade Design
Every knot is tied by hand, making each chair one of a kind. Small variations give it an authentic handcrafted appearance that cannot be mass-produced.
2. Budget-Friendly
Building your own chair often costs much less than purchasing a premium handmade macramé swing while allowing complete control over quality.
3. Customizable
You can customize:
- Rope color
- Chair size
- Fringe length
- Wooden rod finish
- Knot patterns
- Cushion colors
to perfectly match your home décor.
4. Strong and Durable
Using high-quality cotton rope and sturdy hardware creates a chair capable of supporting everyday use while maintaining its attractive appearance.
5. Relaxing DIY Project
Macramé knotting is calming and enjoyable. Many crafters find the repetitive knotting process relaxing and rewarding.
Materials Needed
Prepare all materials before starting.
Cotton Macramé Rope
Use soft yet durable cotton rope.
Recommended thickness:
- 4 mm
- 5 mm
- 6 mm
Natural cotton rope creates a classic boho appearance.
Large Metal Ring
A heavy-duty steel ring serves as the main suspension point.
Choose a ring designed for hanging furniture or swings.
Wooden Dowels or Support Rods
Smooth hardwood rods strengthen the upper frame.
Popular choices include:
- Oak
- Birch
- Pine
- Beech
Measuring Tape
Used throughout the project for accurate rope placement and consistent spacing.
Sharp Scissors
Necessary for trimming rope ends and fringe.
Strong Hook
Install a ceiling hook or beam hook that safely supports the total weight.
Cushion (Optional)
A thick cushion increases comfort while adding decorative appeal.
Recommended Rope Length
Always purchase extra rope.
Macramé projects use much more rope than beginners expect because each knot consumes additional length.
Having extra cord prevents shortages during construction.
Basic Macramé Knots Used
This hanging chair uses several traditional knot styles.
Square Knot
The square knot forms the majority of the chair.
It creates:
- strength
- structure
- decorative texture
Snake Knot
Snake knots produce attractive vertical sections while reinforcing suspension cords.
Spiral Knot
Repeated half knots naturally twist into elegant spirals that decorate the hanging ropes.
Gathering Knots
These hold grouped cords neatly together and improve stability.
Step 1: Prepare the Hanging Loops
Begin by folding each rope in half.
Attach every folded cord to the top metal ring.
Arrange them evenly around the ring.
Keep spacing consistent to produce a balanced chair.
Step 2: Cover the Metal Ring
Instead of leaving the metal exposed, cover it using square knots.
Work slowly around the ring.
Pull every knot tightly.
The wrapped ring becomes:
- stronger
- more attractive
- comfortable to handle
A fully covered ring gives the chair a professional finish.
Step 3: Separate Rope Groups
Organize ropes carefully.
Place:
- longest cords on the outside
- medium cords next
- shortest cords in the center
Proper organization prevents tangling later.
Step 4: Measure Suspension Length
Measure approximately 70 cm from the top.
Mark the location.
This section becomes the upper suspension area.
Maintaining equal measurements keeps the chair level after installation.
Step 5: Tie Snake Knots
Create long rows of snake knots.
Work slowly.
Keep tension equal.
Uniform knots create attractive texture while strengthening the suspension cords.
Step 6: Add Spiral Knots
Continue below the snake knots with spiral knots.
Approximately 35 spiral turns create an elegant decorative section.
The twisting ropes become one of the chair’s most recognizable features.
Step 7: Install Wooden Support Rods
Insert the ropes around the wooden dowel.
Position the dowel evenly.
Secure every cord firmly.
The rod spreads the chair width while improving structural support.
Step 8: Build the Upper Side Panels
Begin weaving square knots beneath the wooden rod.
Alternate knot directions.
Keep spacing even.
These upper panels gradually define the chair shape.
Step 9: Add Additional Rope Pairs
As the chair widens, introduce additional rope pairs.
Adding cords gradually creates smooth side expansion without disrupting the knot pattern.
Continue checking symmetry throughout the process.
Step 10: Create the Backrest
The backrest forms the largest decorative section.
Continue tying square knots row after row.
Maintain consistent tension.
Straight rows improve both appearance and strength.
Step 11: Expand the Seat
Increase the width until approximately twenty rope pairs are incorporated.
Both sides should contain matching square knot patterns.
This balanced structure distributes body weight evenly.
Step 12: Form Diagonal Patterns
Instead of continuing perfectly horizontal rows, begin creating diagonal knot formations.
Diagonal designs improve:
- flexibility
- appearance
- strength
These patterns also become a beautiful visual feature.
Step 13: Join Both Sections
Eventually the left and right sides meet.
Use central diagonal square knot clusters to connect them.
Work carefully.
This connection becomes one of the chair’s strongest load-bearing sections.
Step 14: Continue Downward
Repeat structured knot rows.
Maintain consistent spacing.
Regularly compare both sides.
Correct small differences immediately before they become noticeable.
Step 15: Weave the Outer Borders
After completing the seat, create decorative border strips along both edges.
Border weaving:
- strengthens edges
- prevents stretching
- creates a polished appearance
Step 16: Connect the Bottom
Gather the remaining cords.
Tie paired knots across the entire bottom.
This lower section supports the decorative fringe while reinforcing the chair.
Step 17: Trim the Fringe
Trim every rope end evenly.
Many makers choose approximately 16 cm fringe.
You may also leave longer tassels for a dramatic bohemian appearance.
Step 18: Decorative End Knots
Optional finishing knots prevent fraying.
They also add handcrafted detail.
Decorative knots make the chair look professionally finished.
Safety Tips
Always prioritize safety.
- Test every knot before use.
- Install only into a strong ceiling beam or approved hanging support.
- Check rope condition regularly.
- Avoid overloaded weight limits.
- Inspect hardware before each season if used outdoors.
Styling Ideas
Your finished chair works beautifully in many locations.
Perfect for:
- Living room
- Reading corner
- Bedroom
- Balcony
- Covered patio
- Garden room
- Sunroom
- Nursery
- Home office
- Studio
Add:
- soft cushions
- cozy blankets
- fairy lights
- indoor plants
to create a relaxing retreat.
Maintenance
Keep your macramé chair looking beautiful by following these care tips.
- Dust regularly.
- Vacuum gently with a soft brush attachment.
- Spot clean using mild soap.
- Allow rope to air dry completely.
- Store indoors during heavy rain if used outside.
Proper care keeps cotton rope attractive for years.
Common Beginner Mistakes
Avoid these common issues:
- Uneven rope lengths
- Loose knots
- Incorrect measurements
- Unequal spacing
- Poor-quality rope
- Weak hanging hardware
- Rushing the knotting process
Taking your time produces a safer and more attractive finished chair.
Final Thoughts
Creating a DIY macramé hanging chair is a rewarding project that combines craftsmanship, creativity, and functionality. By using quality cotton rope, sturdy wooden supports, and secure knotting techniques, you can build a beautiful chair that serves as both comfortable seating and eye-catching home décor. Whether placed indoors or on a covered outdoor patio, this handmade hanging chair brings a cozy bohemian touch to any space. With careful measuring, consistent knot tension, and proper installation, your finished chair will provide years of style, relaxation, and enjoyment.
DIY Swing Chair Ideas for a Stylish and Comfortable Home
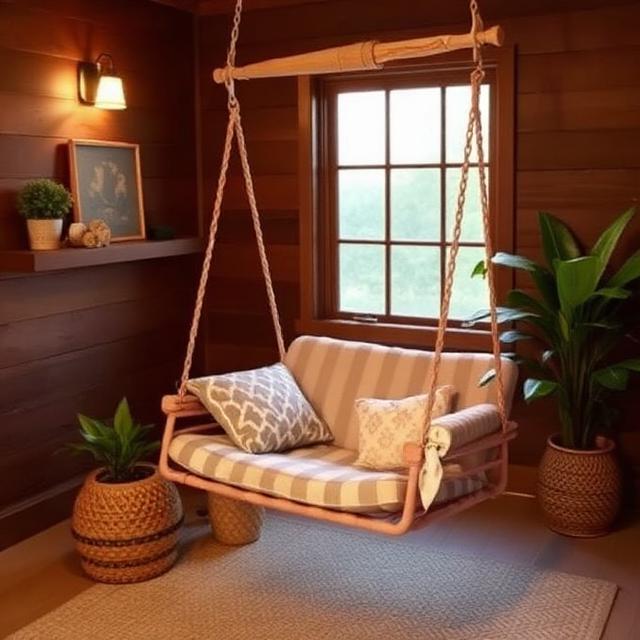
Easy DIY Swing Chair Projects for Indoor and Outdoor Spaces
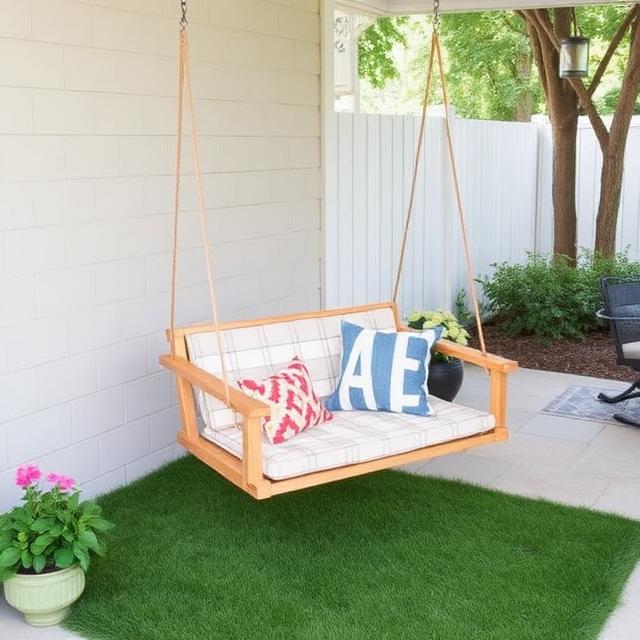
Beautiful DIY Swing Chair Designs for Modern Home Décor
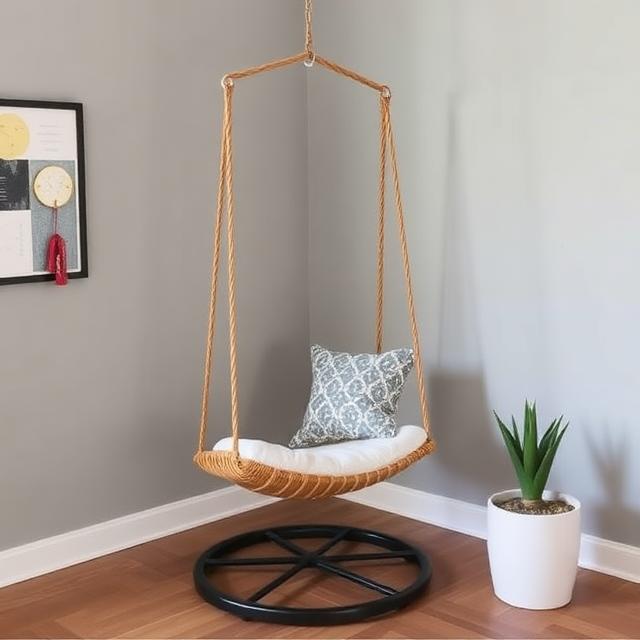
Creative Swing Chair DIY Ideas for Every Living Space
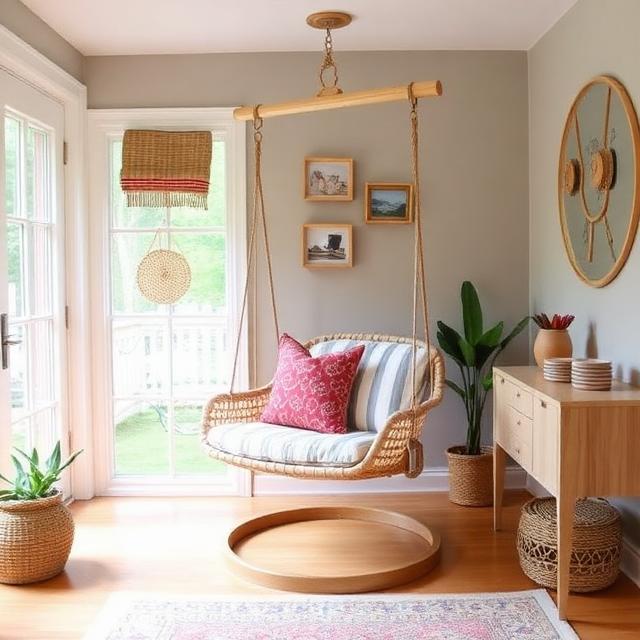
DIY Hanging Swing Chair Ideas for Cozy Home Corners

Modern DIY Swing Chair Designs for Small Homes

Budget-Friendly DIY Swing Chair Ideas Anyone Can Build
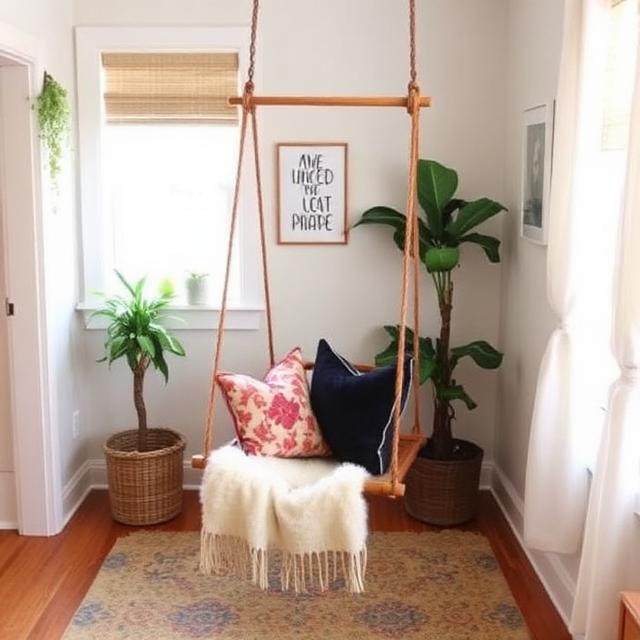
DIY Wooden Swing Chair Ideas for Rustic Home Décor
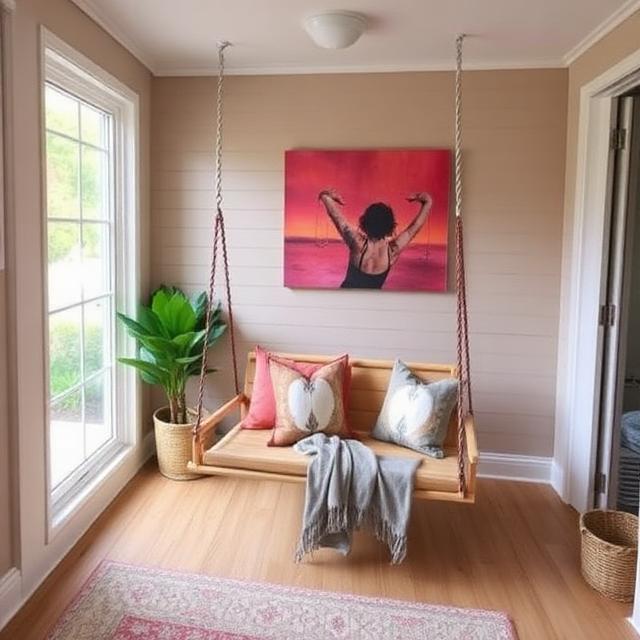
Easy Hanging Swing Chair DIY Ideas with Step-by-Step Inspiration
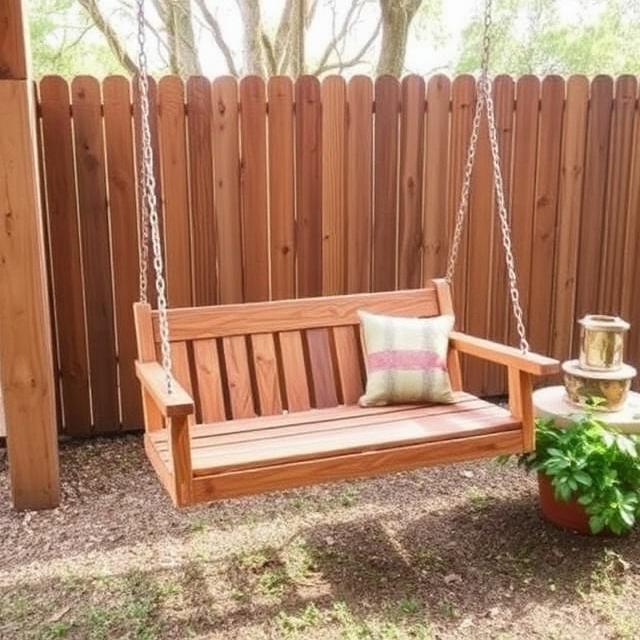
Stylish DIY Swing Chair Ideas for Relaxing Indoor Spaces
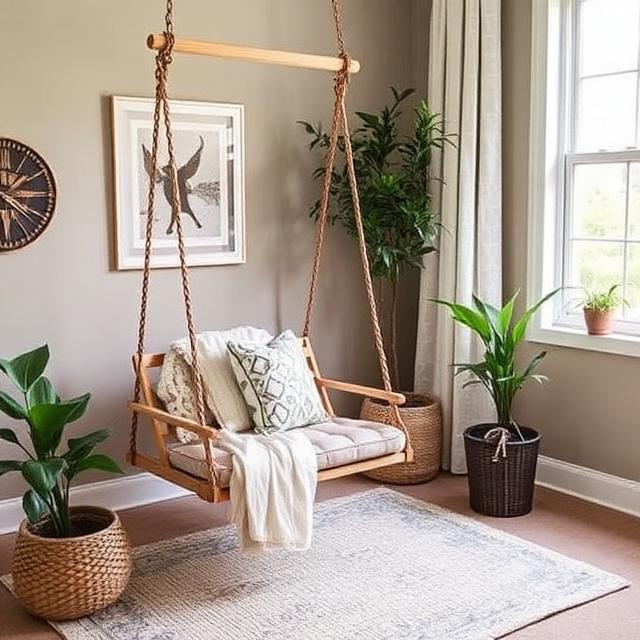
Handmade Swing Chair DIY Projects for Beginners
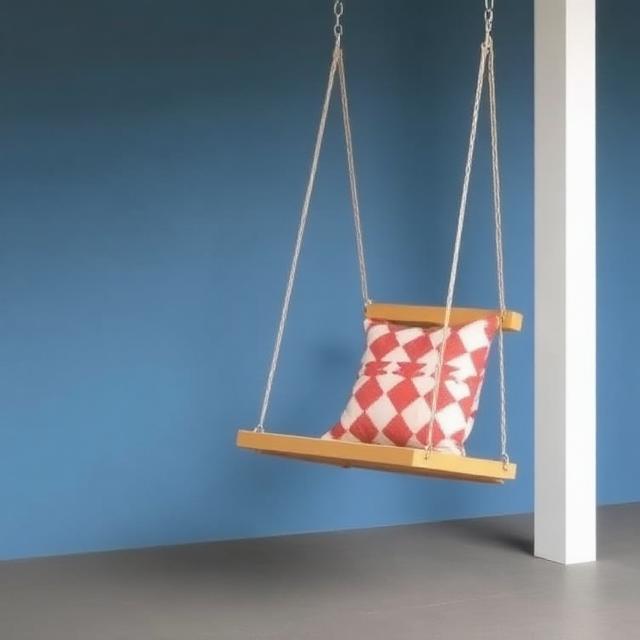
Stylish DIY Swing Chair Ideas for Relaxing Indoor Spaces
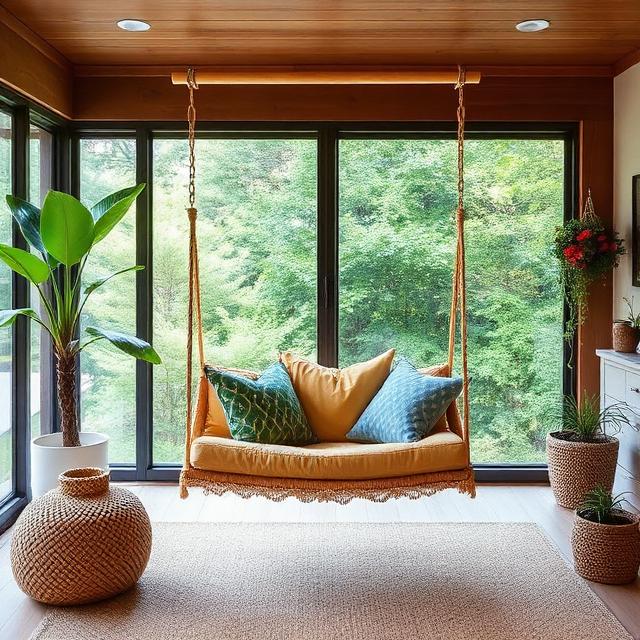
Outdoor DIY Swing Chair Ideas for Backyard Relaxation
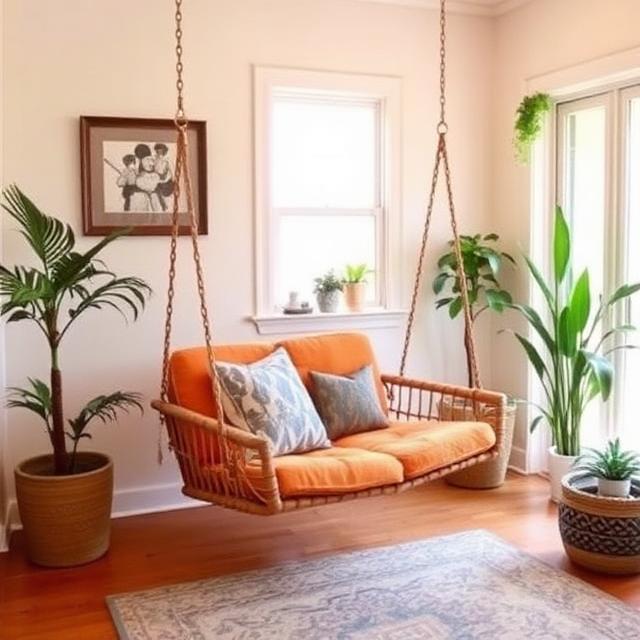
Cozy DIY Swing Chair Designs for Reading Corners
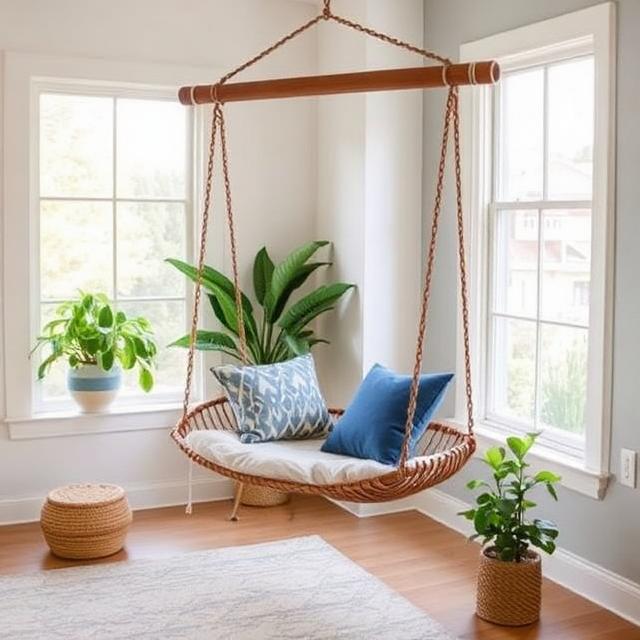
DIY Porch Swing Chair Ideas for Every Home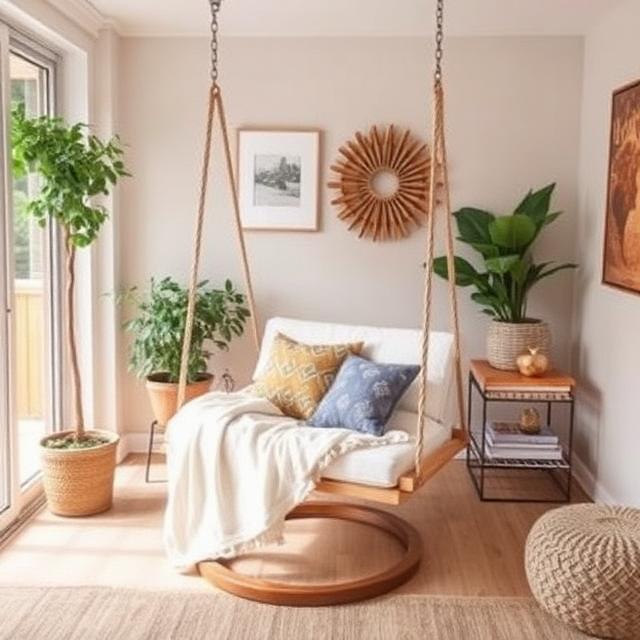
DIY Rope Swing Chair Ideas with Simple Materials
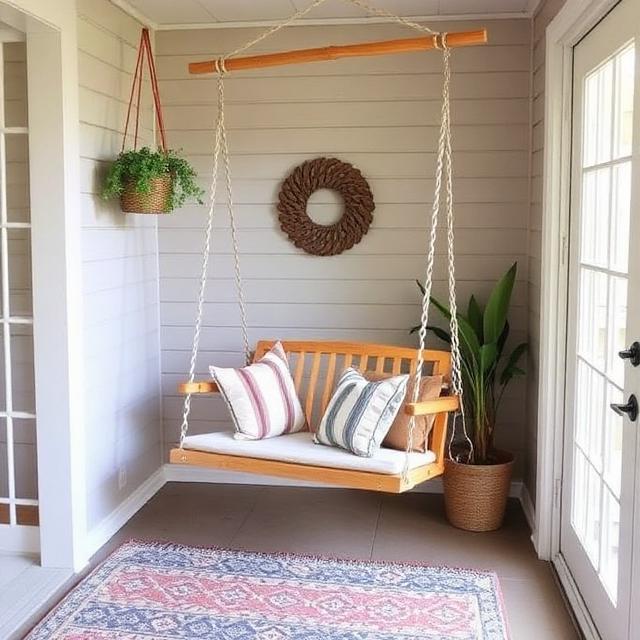
Modern Indoor Swing Chair DIY Ideas for Apartments
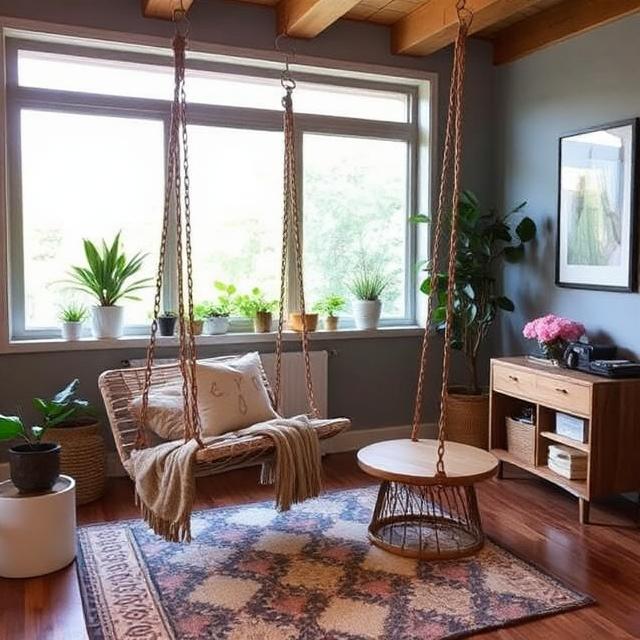
Wooden DIY Hanging Chair Ideas for Modern Interiors
-
DIY Swing Chair Projects to Upgrade Your Home
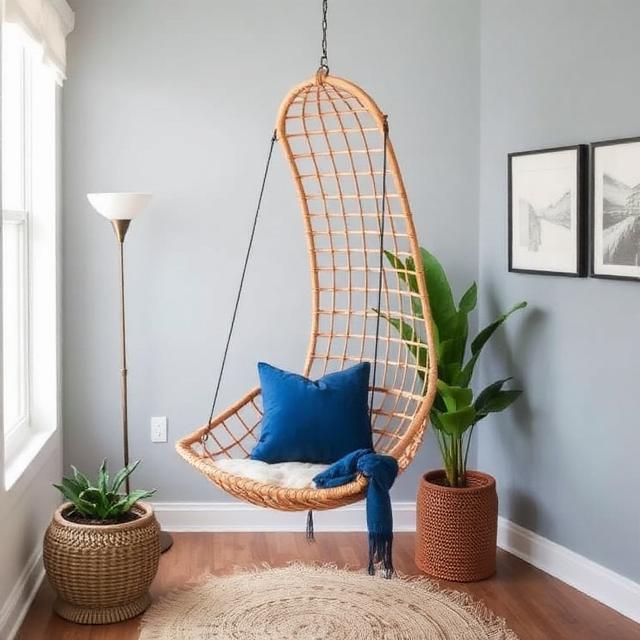
Elegant DIY Swing Chair Ideas for Bedroom Decor